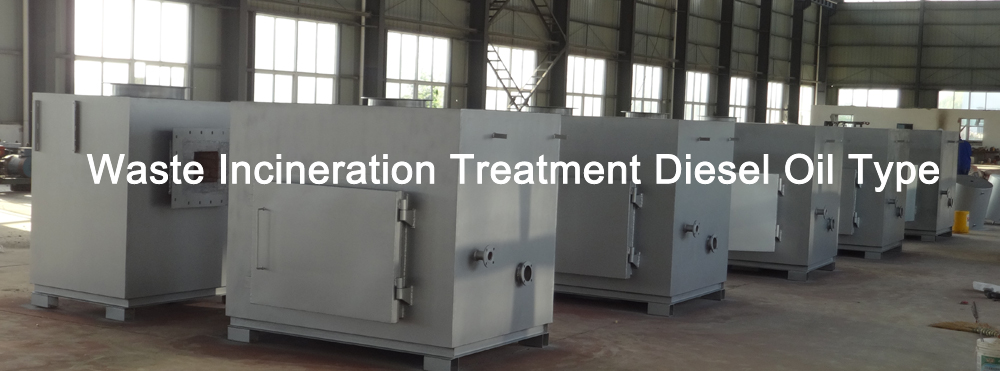
Building a simple incinerator can be a cost-effective and efficient way to dispose of waste materials. Whether you need to get rid of garden waste, personal documents, or other combustible materials, creating your own incinerator can provide a convenient solution. In this article, we’ll provide a step-by-step guide on how to build a simple incinerator.
Step 1: Choose a Location
The first step in building a simple incinerator is to select a suitable location for it. Ideally, you should choose a spot that is well-ventilated and away from any flammable materials, structures, or foliage. Additionally, check with your local municipality to ensure that building an incinerator complies with any environmental or zoning regulations in your area.
Step 2: Gather Materials
You will need the following materials to build a simple incinerator:
– 55-gallon metal drum or an old metal trash can
– A metal grate or wire mesh to serve as the base for the incinerator
– A metal chimney pipe and a cap
– Metal cutting tools
– Welding equipment (if you choose to weld the grate into place)
– Heat-resistant paint (optional)
Step 3: Prepare the Drum or Trash Can
If you are using a metal drum, start by removing the top of the drum using metal cutting tools. If you are using a metal trash can, ensure that it is clean and free of any debris. In either case, use the metal cutting tools to create several ventilation holes around the bottom of the drum or trash can to allow for proper airflow during combustion.
Step 4: Install the Grate
Place the metal grate or wire mesh at the bottom of the drum or trash can to serve as a base for the incinerator. If necessary, use welding equipment to secure the grate in place. The grate will allow air to flow underneath the materials being burned, helping to promote combustion.
Step 5: Construct the Chimney
To ensure proper ventilation, construct a chimney for your incinerator. This can be achieved by cutting a hole in the side of the drum or trash can and attaching a metal chimney pipe. Make sure that the chimney pipe extends above the height of the drum or trash can and secure it with a cap to prevent sparks or ash from escaping.
Step 6: Optional – Paint the Incinerator
To protect the drum or trash can from rust and corrosion, consider painting it with heat-resistant paint. This step is optional but can help extend the lifespan of your incinerator.
Step 7: Using the Incinerator
Once your incinerator is constructed, you can begin safely using it to dispose of combustible materials. Always monitor the incinerator closely while it is in use and never leave it unattended. Ensure that all local regulations regarding the use of incinerators are followed, and exercise caution to prevent accidental fires.
In conclusion, building a simple incinerator can provide a convenient and effective means of disposing of waste materials. By following this step-by-step guide, you can construct your own incinerator and safely dispose of combustible materials in an environmentally responsible manner. Remember to always prioritize safety and compliance with local regulations when building and using an incinerator.